 |||
|||
“Bastards.” - Sharpe, every episode.
Today we’re kicking off a new series of articles on the core units of turnip looking at what role they play and the fundamental math behind them.
We’re starting with the one true unit of the patrician heavy cavalry enjoyer, the Bastards. If you’ve read toff club before you know that I play a lot of CCW Bastards, if you’ve seen me on the list building channel or on reddit you’ve probably seen me tell people to run more CCW bastards too.
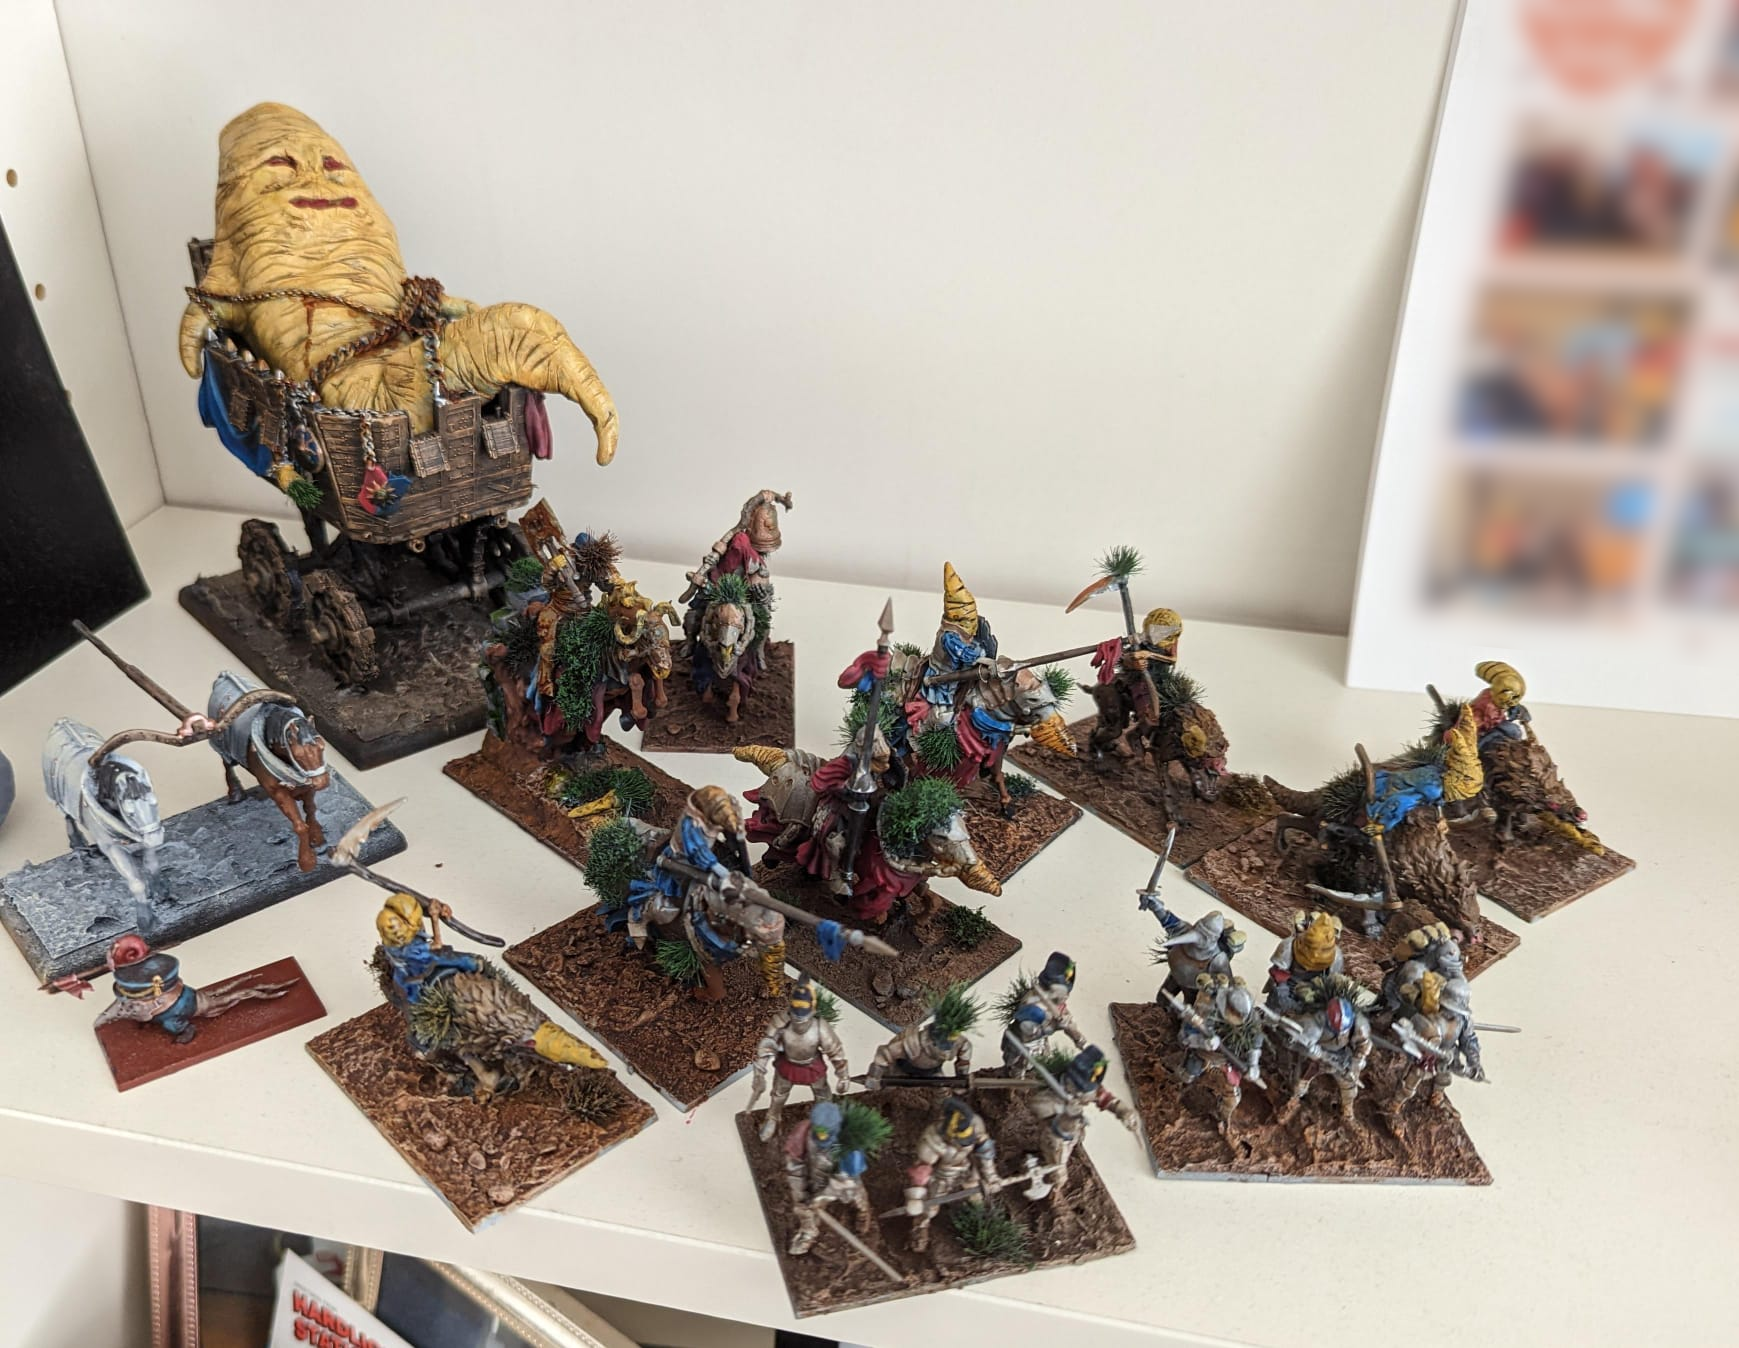
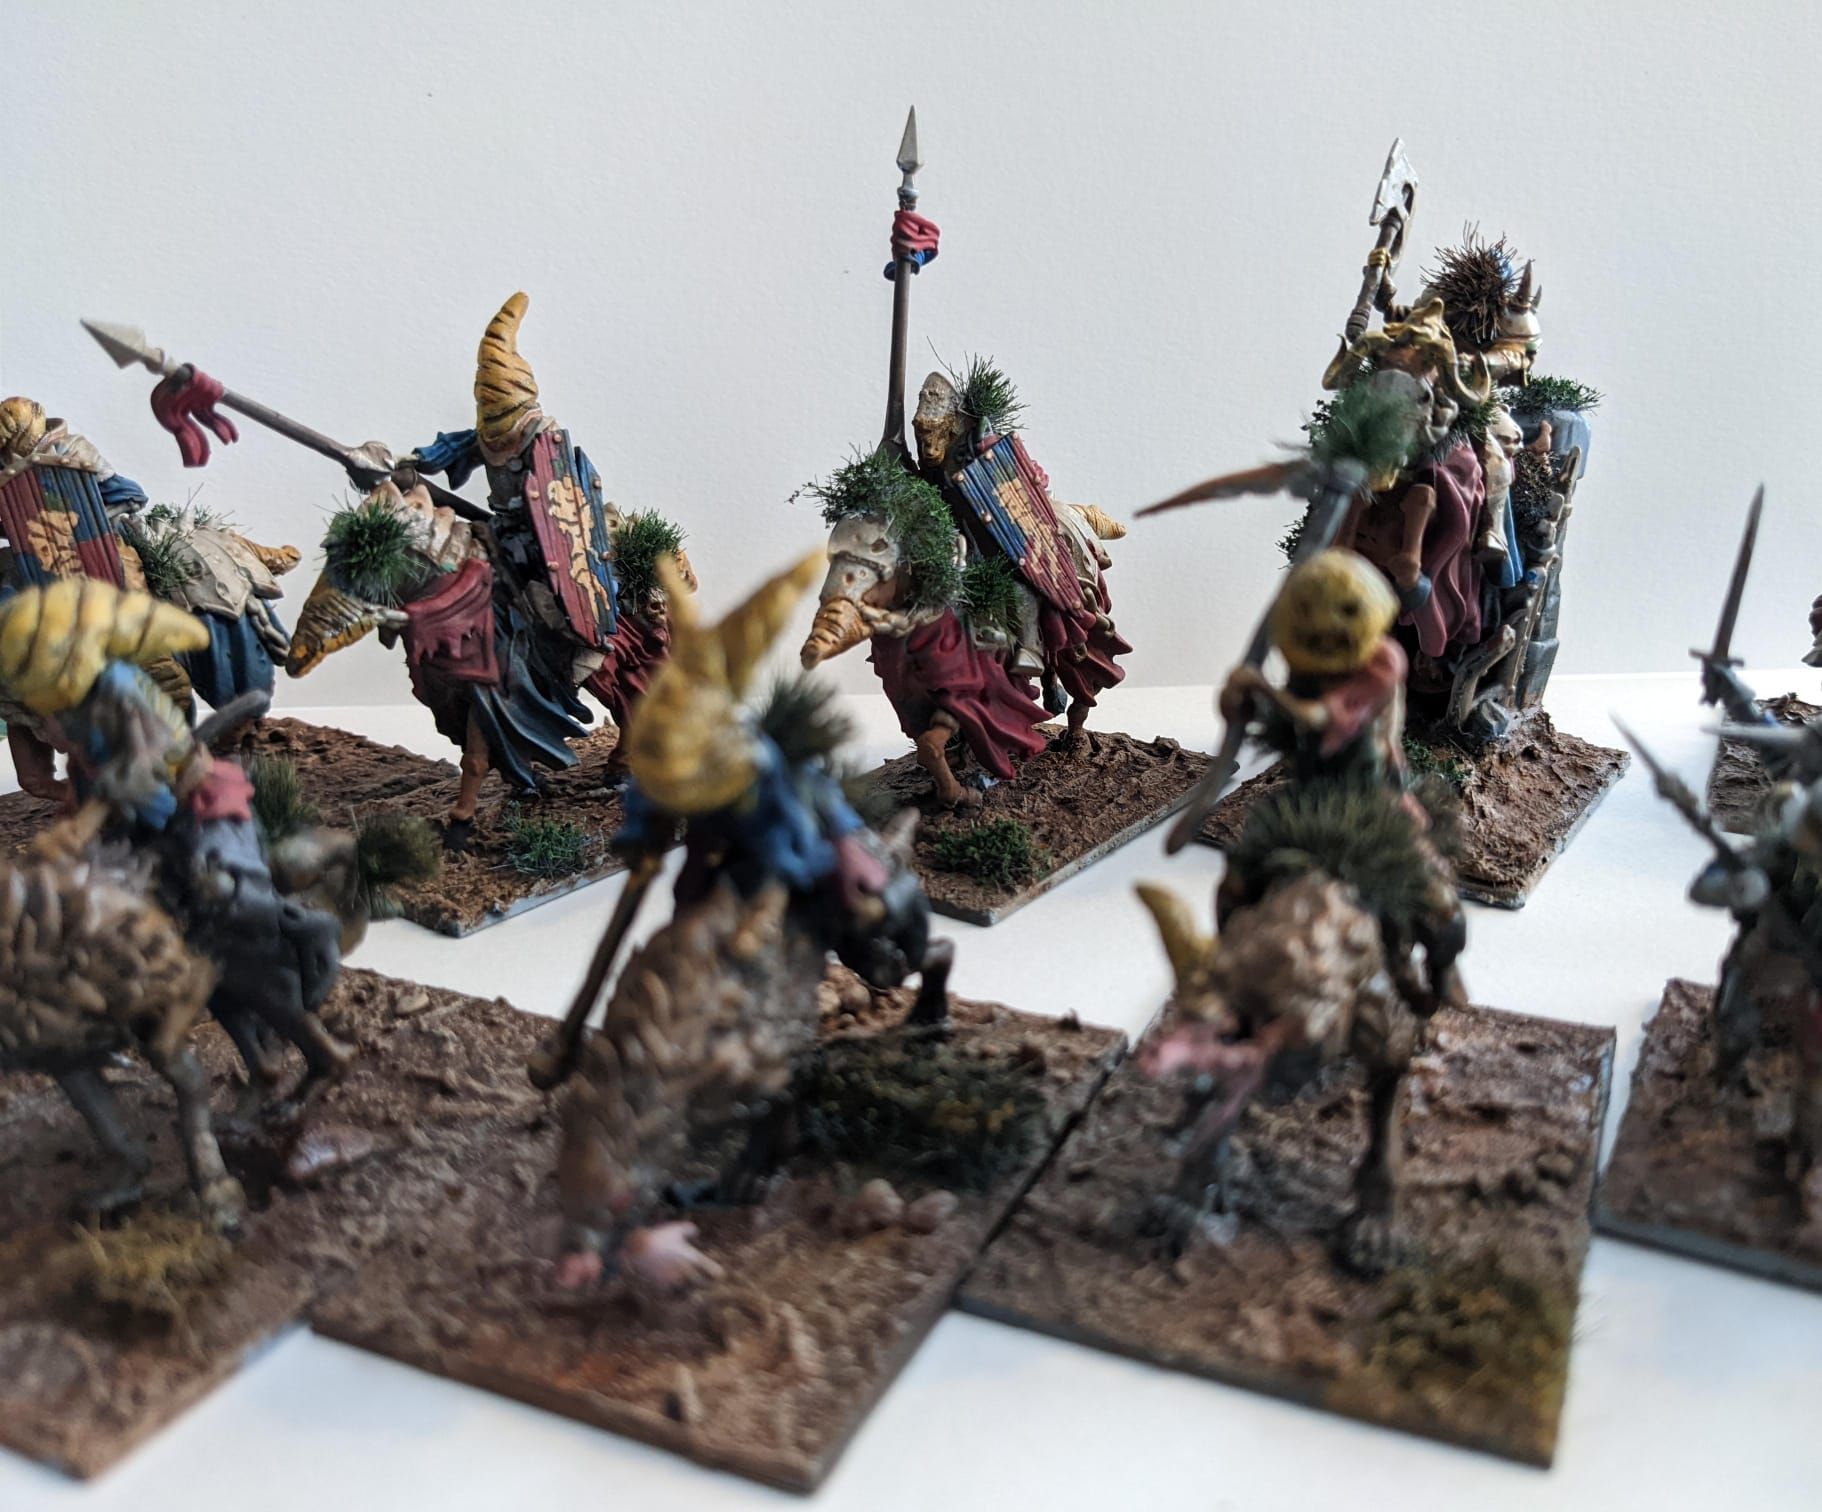 Bastards from my Procession of Woe regiment
I love this unit, and I want you to love it too.
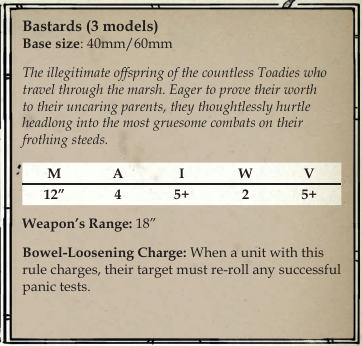 Bastards as of v17, still the same in v18
So off the bat we have cavalry movement with an average charge range of 19” and a weapon’s range of 18”, this tends to set the default for how you’re going choose to screen and position, even without a charge reroll bastards can sit outside of your 18” weapons range and still make the charge 50% of the time, forcing you to move and shoot instead of volley them.
You start off with 12 attacks, which convert to an average of 4 hits by default, going to 6 hits with CCW, and they can take an average of 9 hits before getting wiped.
So we’re starting off with a very solid stat line but we also get Bowel-Loosening Charge.
First off, whenever we charge someone in turnip they have to make a panic test, they roll a d6 and add the number of panic tokens they have if it’s 6 or less they hold and if it’s 7 or more they retreat.
Retreating from a charge is bad for four reasons:
Now let’s look at the text of BLC.
When a unit with this rule charges, their target must re-roll any successful panic tests.
If panic is one of the most important systems in turnip then BLC has to be one of the most important abilities because it fundamentally swings the math in our favour.
Well you’re sure as hell not out shooting anyone, but that’s okay because Bastards are the best core charging unit. Going first in melee you have great odds into everything in the game bar monsters, you have some specific interactions that are very dependant on spiking rolls (particularly probby and scuttlers) as well as some hard counters (fresh lumps and pike blocks). You’re not the most fragile unit in the game but charging into a bad stand and shoot means you can suddenly lose a big chunk of attacks.
So you have to be clever, you need to position well and think about how far and what directions your screen can retreat, you need to understand where you’re going to end up after a charge, you need to bait and counter. You can win most engagements if you take them right, and with a few tools you’ll even start to win ones you shouldn’t.
Because you don’t need to win in Melee if you can run down the enemy on a retreat.
If you don’t care about the odds skip to the TL;DR but you will probably miss about half of this post.
So we talked about how BLC “Fundamentally swings the math in our favour”, but what does that actually look like?
| Panic | P(Retreat) | BLC P(Retreat) |
|---|---|---|
| 0 | 0% | 0% |
| 1 | 17% | 31% |
| 2 | 33% | 56% |
| 3 | 50% | 75% |
| 4 | 67% | 89% |
| 5 | 83% | 97% |
| 6 | 83% | 97% |
This dramatically increases our odds of forcing a retreat, in general you can think of it as a 18.5% bump on average, but what really matters is how it changes your breakpoints. Without BLC you don’t hit even odds to force a retreat until 3 panic, with BLC you’re 6 percentage points past even at 2 panic and at 3 panic you’re forcing a retreat 3 out of 4 times.
So now we know how much more likely we are to force a retreat BLC, that’s useful for the positional game, forcing multiple dangerous terrain tests and hurling people into board edges, but where the real power comes from is deleting units wholesale from the board by running them down. Now we need to work out how to reliably land those charges when they’re on the retreat.
Look, we’ve only got three models and while we’ve got 5+ Inaccuracy that’s not going to be enough to make our shooting matter outside of volley fire plinks against CCW units, save the guns for your whelps.
So with CCW we get a bonus to our to hit rolls, everyone’s very happy with that, but the real killer is the second clause:
A unit equipped with close combat weapons MAY re-roll their charge distance dice. If a player chooses to re-roll their charge distance, both dice must be re-rolled and they must accept the new result.
Just how much does that reroll help us?
| Enemy Distance (>=) | P(C) | P(C) w/ CC Reroll |
|---|---|---|
| 14 | 100.00% | 100.00% |
| 15 | 97.22% | 99.92% |
| 16 | 91.67% | 99.31% |
| 17 | 83.33% | 97.22% |
| 18 | 72.22% | 92.28% |
| 19 | 58.33% | 82.64% |
| 20 | 41.67% | 65.98% |
| 21 | 27.78% | 47.84% |
| 22 | 16.67% | 30.56% |
| 23 | 8.33% | 15.97% |
| 24 | 2.78% | 5.48% |
Well pretty substantially, we really tighten up the mid ranges from coinflip territory to very comfortably in our favour, and we only drop to below 50% at the long bomb ranges like 21”.
So now we know how likely we are to panic someone, and how likely we are to make different charge distances, we can work out exactly how likely we are to run them down based on two factors, their panic and distance.
For example, if a block of fodder has 3 panic and is 8” away, then you know you have a 75% chance to panic them, then they’re probably going to end up about between 15” and 20” away with each of those values being equally likely we can multiply all of those odds from our charge distance with CCW reroll by 1/6 and sum them together to work out how likely we are to make the new charge distance.
| Range Min | Range Max | P(C) |
|---|---|---|
| 10 | 15 | 99.99% |
| 11 | 16 | 99.87% |
| 12 | 17 | 99.41% |
| 13 | 18 | 98.12% |
| 14 | 19 | 95.23% |
| 15 | 20 | 89.56% |
| 16 | 21 | 80.88% |
| 17 | 22 | 69.42% |
| 18 | 23 | 55.88% |
| 19 | 24 | 41.41% |
| 20 | 25 | 27.64% |
| 21 | 26 | 16.64% |
| 22 | 27 | 8.67% |
| 23 | 28 | 3.57% |
| 24 | 29 | 0.91% |
Now we can see that we’re making that charge 89.56% of the time, but first we have to panic them right? So we end up with 75% * 89.56% = 67.17% chance to force a retreat and still run them down. Which is great news, but how the hell am I supposed to use any of this knowledge without playing with a spreadsheet.
Here’s the general rule of thumb: if you’ve got CCW Bastards and your target unit is 10” or less away with 2-3, you can force a retreat and run the enemy down ~50% of the time. When you get to 4+ panic retreat distances start getting pretty hefty, which is bad for running people down, but really opens up pushing people into board edges to cut those distances down or just making them lose a number of models equal to their panic.
Now for the bad news. Brutes and Fodder have a way to swing the math in their favour too.
Every time a unit with fearless is required to retreat, including after a failed panic test, on a 3+ they do not retreat and are treated as if they passed the panic test.
You might have Bowel-Loosening Charge to force a panic reroll but fearless has better timing and better odds. They don’t care about your reroll, they just make a check when they fail and turn 2/3 of those back into successes.
So how do you deal with Fearless? You don’t, you’re CCW bastards just throw 12 4+ attacks at them, in the general case you’re going to come out on top. Sure you might lose a model or two but don’t stress about it, BLC is still going to work even when your down to a single model.
So we’ve talked about how the interaction between CCW and Bastards works and how it get’s countered, now lets take a look at what cults can help us with that. We know that the two factors we care about the most are Distance & Panic so that’s what we’ll focus on.
 Fun fact procession of woe was the first cult I ever built and played (and yes that’s a rootshrine, he’s called peebles)
This is probably the first panic generation cult anyone looks at and for good reason, this is a great cult for bastards. We have a consistent way to generate panic, a way to put it on enemy units and bonus attacks on our units with 2 or more panic.
We need to play for control of the centre with the rootshrine so that we can reliably move panic onto enemy units, but we have so much flexibility in whether we want bonus attacks or two more panic on an enemy that we pretty reliably get to pick and choose whichever is best for the current turn.
I have a lot of personal bias for this cult as I had my best Turnipcon run with it, but the v17 rules were absolutely nuts for this strategy, getting a free 6” on demand basically trivialized every charge roll I had, 20” base charge distance is pretty problematic, particularly at venues where you’re sometimes on a 36”x36” board. That along with whelps to make up your off turns movement and ability to cap was huge.
The v18 playtest has some pretty big changes to how this works, now instead of having two turns of 18” movement you can basically give your snails and cavalry followers 4d6” movement, letting you make a 6d6” charge. Our variance is obviously a lot higher than 12” base cavalry, but our ability to make those long charges looks a decent bit better. I’ll probably have to go do some real math to work out if they get a real advantage or if your just going to be left crying over the variance.
You pick the direction of every retreat, that’s it, that’s the core rule. In the v18 playtest you don’t even need to keep your balloon alive to keep the rule. You can even make them retreat directly towards your unit as long as they don’t end up retreating through them, but even in that case you can just take a slight off angle.
You get artillery that fires five shots and generates panic on every hit and as a bonus puts 2 panic on the closest enemy unit too, also get panic generation on retreat. Very few cults put out as much panic as rocket batteries do.
 My beautiful turnip con 3 probby
Probby is a bastard with more wounds and more attacks in exchange he can’t cap objectives and he loses a point of innacuracy, that’s still phenomenal trade. If that wasn’t enough you get extra movement on the charge equal to the number of panic on the target unit, essentially halving the retreat distance bonus from panic and you get Boletus, who can give any unit BLC for free at the start of the round.
In my opinion this is far and away the best cavalry cult, but some of the v18 preview rules pretty substantially change how this cult functions, losing the ability to give your whelps and fodder BLC and instead giving some panic generation. Hard to say how it will shake out until we see the v18 playtest rules for mercenary cults.
Use shooting units and cult shenanigans to stack panic on the right units, find a way to clear screens or put them out of position, then abuse cult mechanics that buff your movement to make charges that wipe them clean off the board. This is my central tenet of cavalry turnip: Most of the time, bastards should be running people down, not fighting in melee. It’s not going to win you every game, and obviously you don’t need to run down that single model of chaff with a bunch of panic on it, but if you start thinking about where you need your panic to land and how you can set up your bastards to hit it, you’re going to be stomping the mid game and creating the follower advantage you need to finish with more objectives than your opponent or clear the board of snobs in headless chicken.
That’s why You Should Play More Bastards.